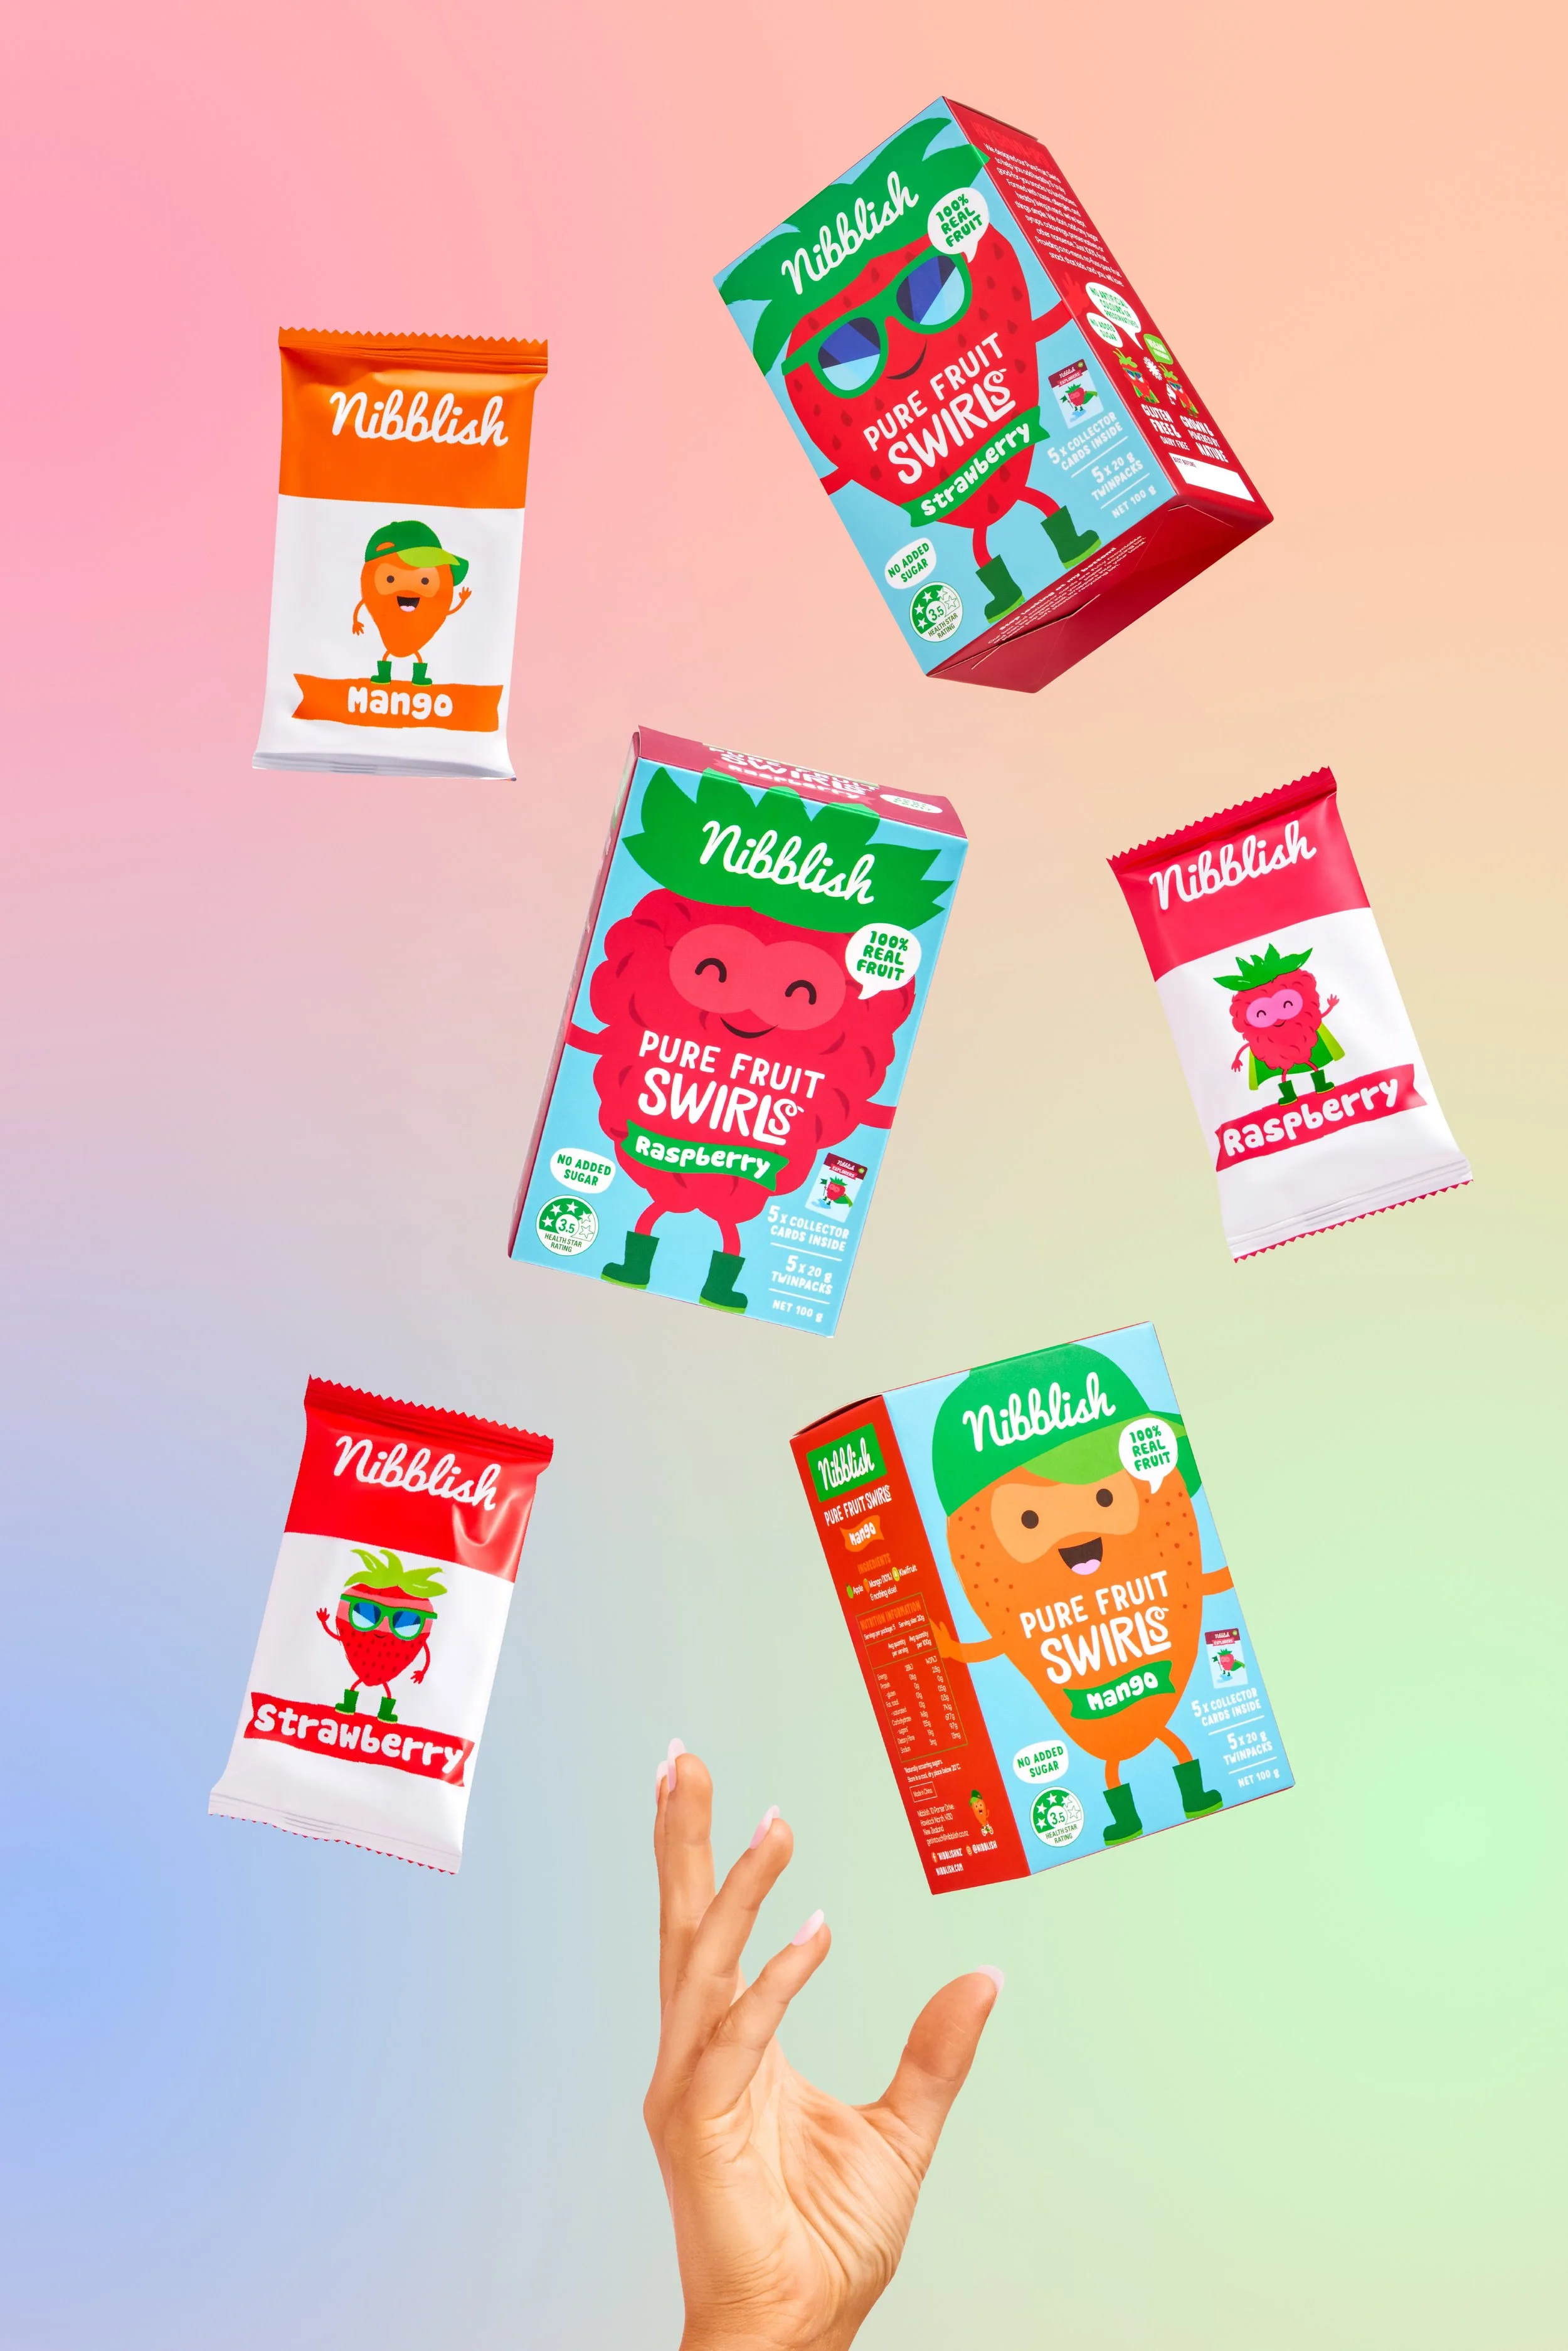
Why you should be using gels in your product photography
Ever felt like your photos could use a little something to make them Pop? Then gels might just be what you're looking for!
Adding gels to your lighting setup can transform a good photo into a vibrant, standout muse. Whether you're new to using gels or looking to refine your technique, this blog will provide you with practical tips and tricks to make the most of this colourful tool.
Key tips for Creators
1. Start with Adjusting Lights with Gels
Begin by setting up the strobes that have your gels attached. Adjust these first before setting your key light. This helps prevent your key light from overpowering the colorful effects of the gels- make sense?
2. Use Modifiers for Precision
Adding modifiers can help direct specific colours to particular areas of your scene. This technique allows for more creative control and precise lighting, which is especially important if you want a colourful gradient effect.
3. Choose the Right Strobes
Using reliable strobes like the Godox AD600 Pro (our fave) can make a significant difference. They offer the power and flexibility needed to achieve the best results with gels.
The Magic of Gels
Working with gels is a super easy way to turn a good photo into a super fun and GREAT photo (well, in my opinion anyway ). I am a big fan of gels, hence why mine are all worn and torn haha!
The trick with working with gels is to work backwards when adjusting your strobe settings - stick with me here, I know it can sound confusing Haha. Set your strobes that have your gels on them first and then set your key light last! This will help ensure you don’t overpower the gels with your main key light - make sense?
You can add different modifiers as well to point specific colors onto specific areas of your scene too!
My favorite strobes of all time are the Godox AD600 Pro ✨
So what do you think? Will you give gels a try on your next shoot? Dive into the world of colorful lighting and watch your creativity shine!
Want more?
If you want to learn how to achieve and implement some of our favourite lighting techniques into your work, then check out our course - Creative Scoop.


