Easy lighting technique for beginners
✨bold and bright edition
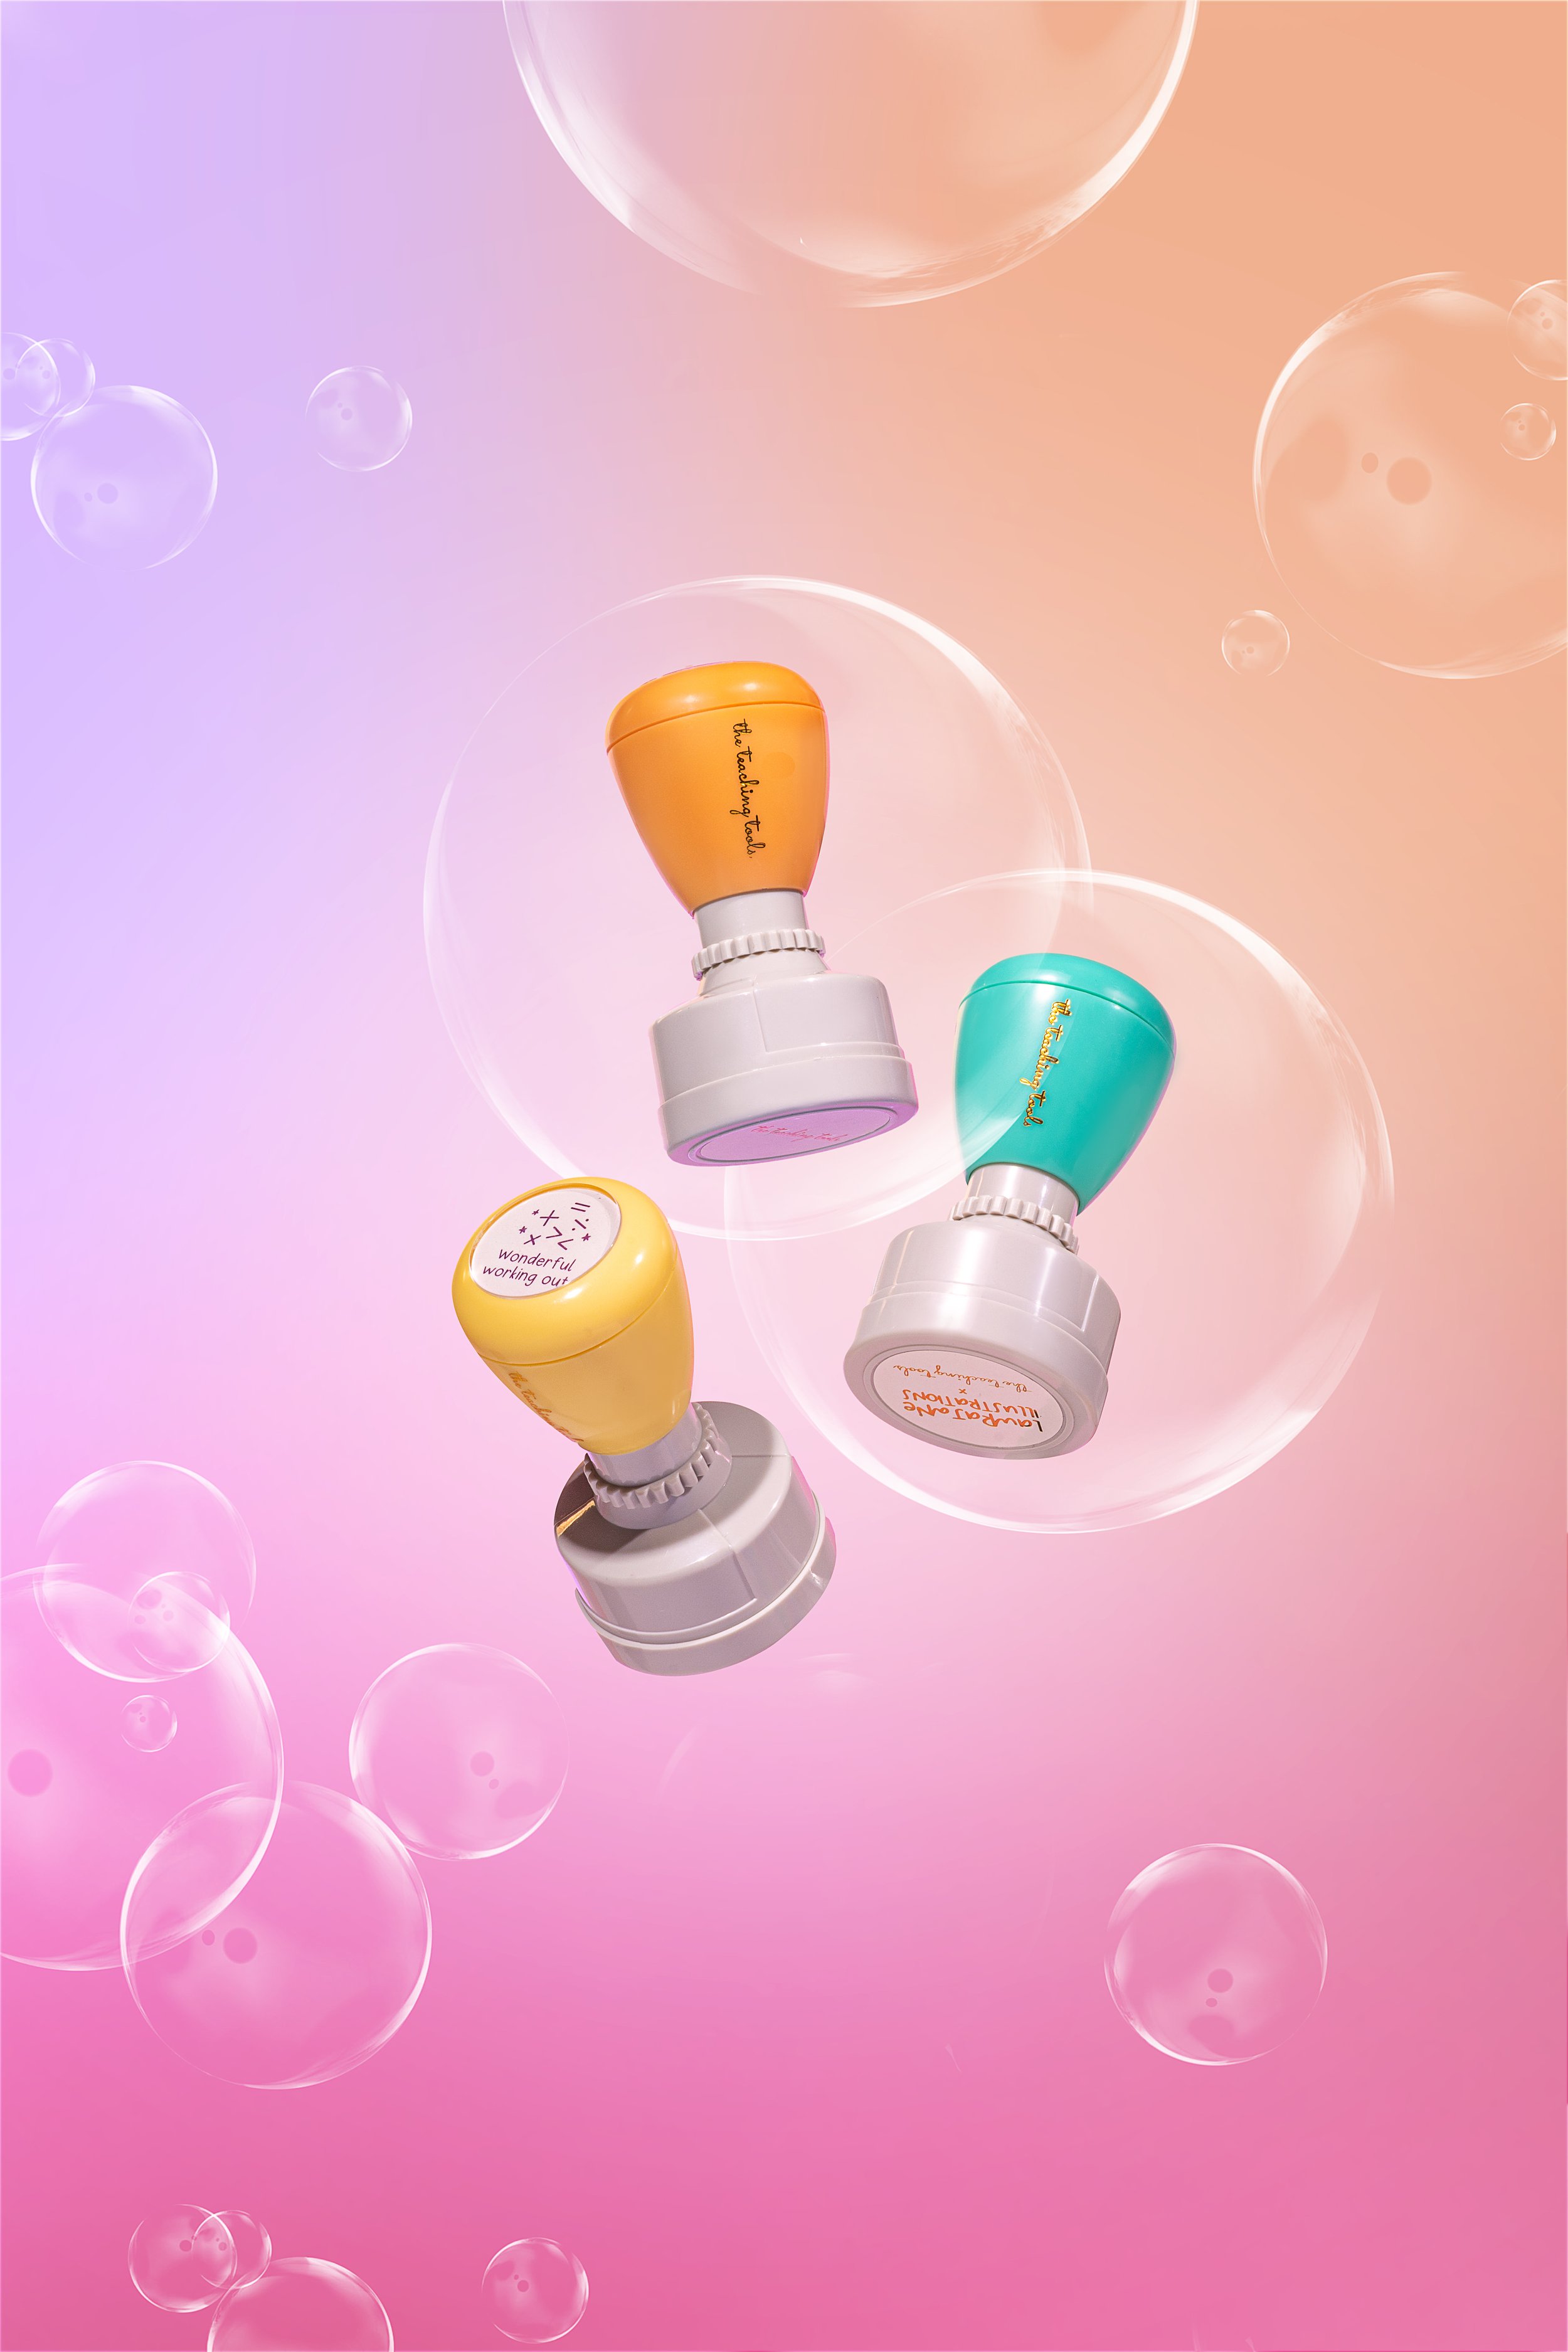
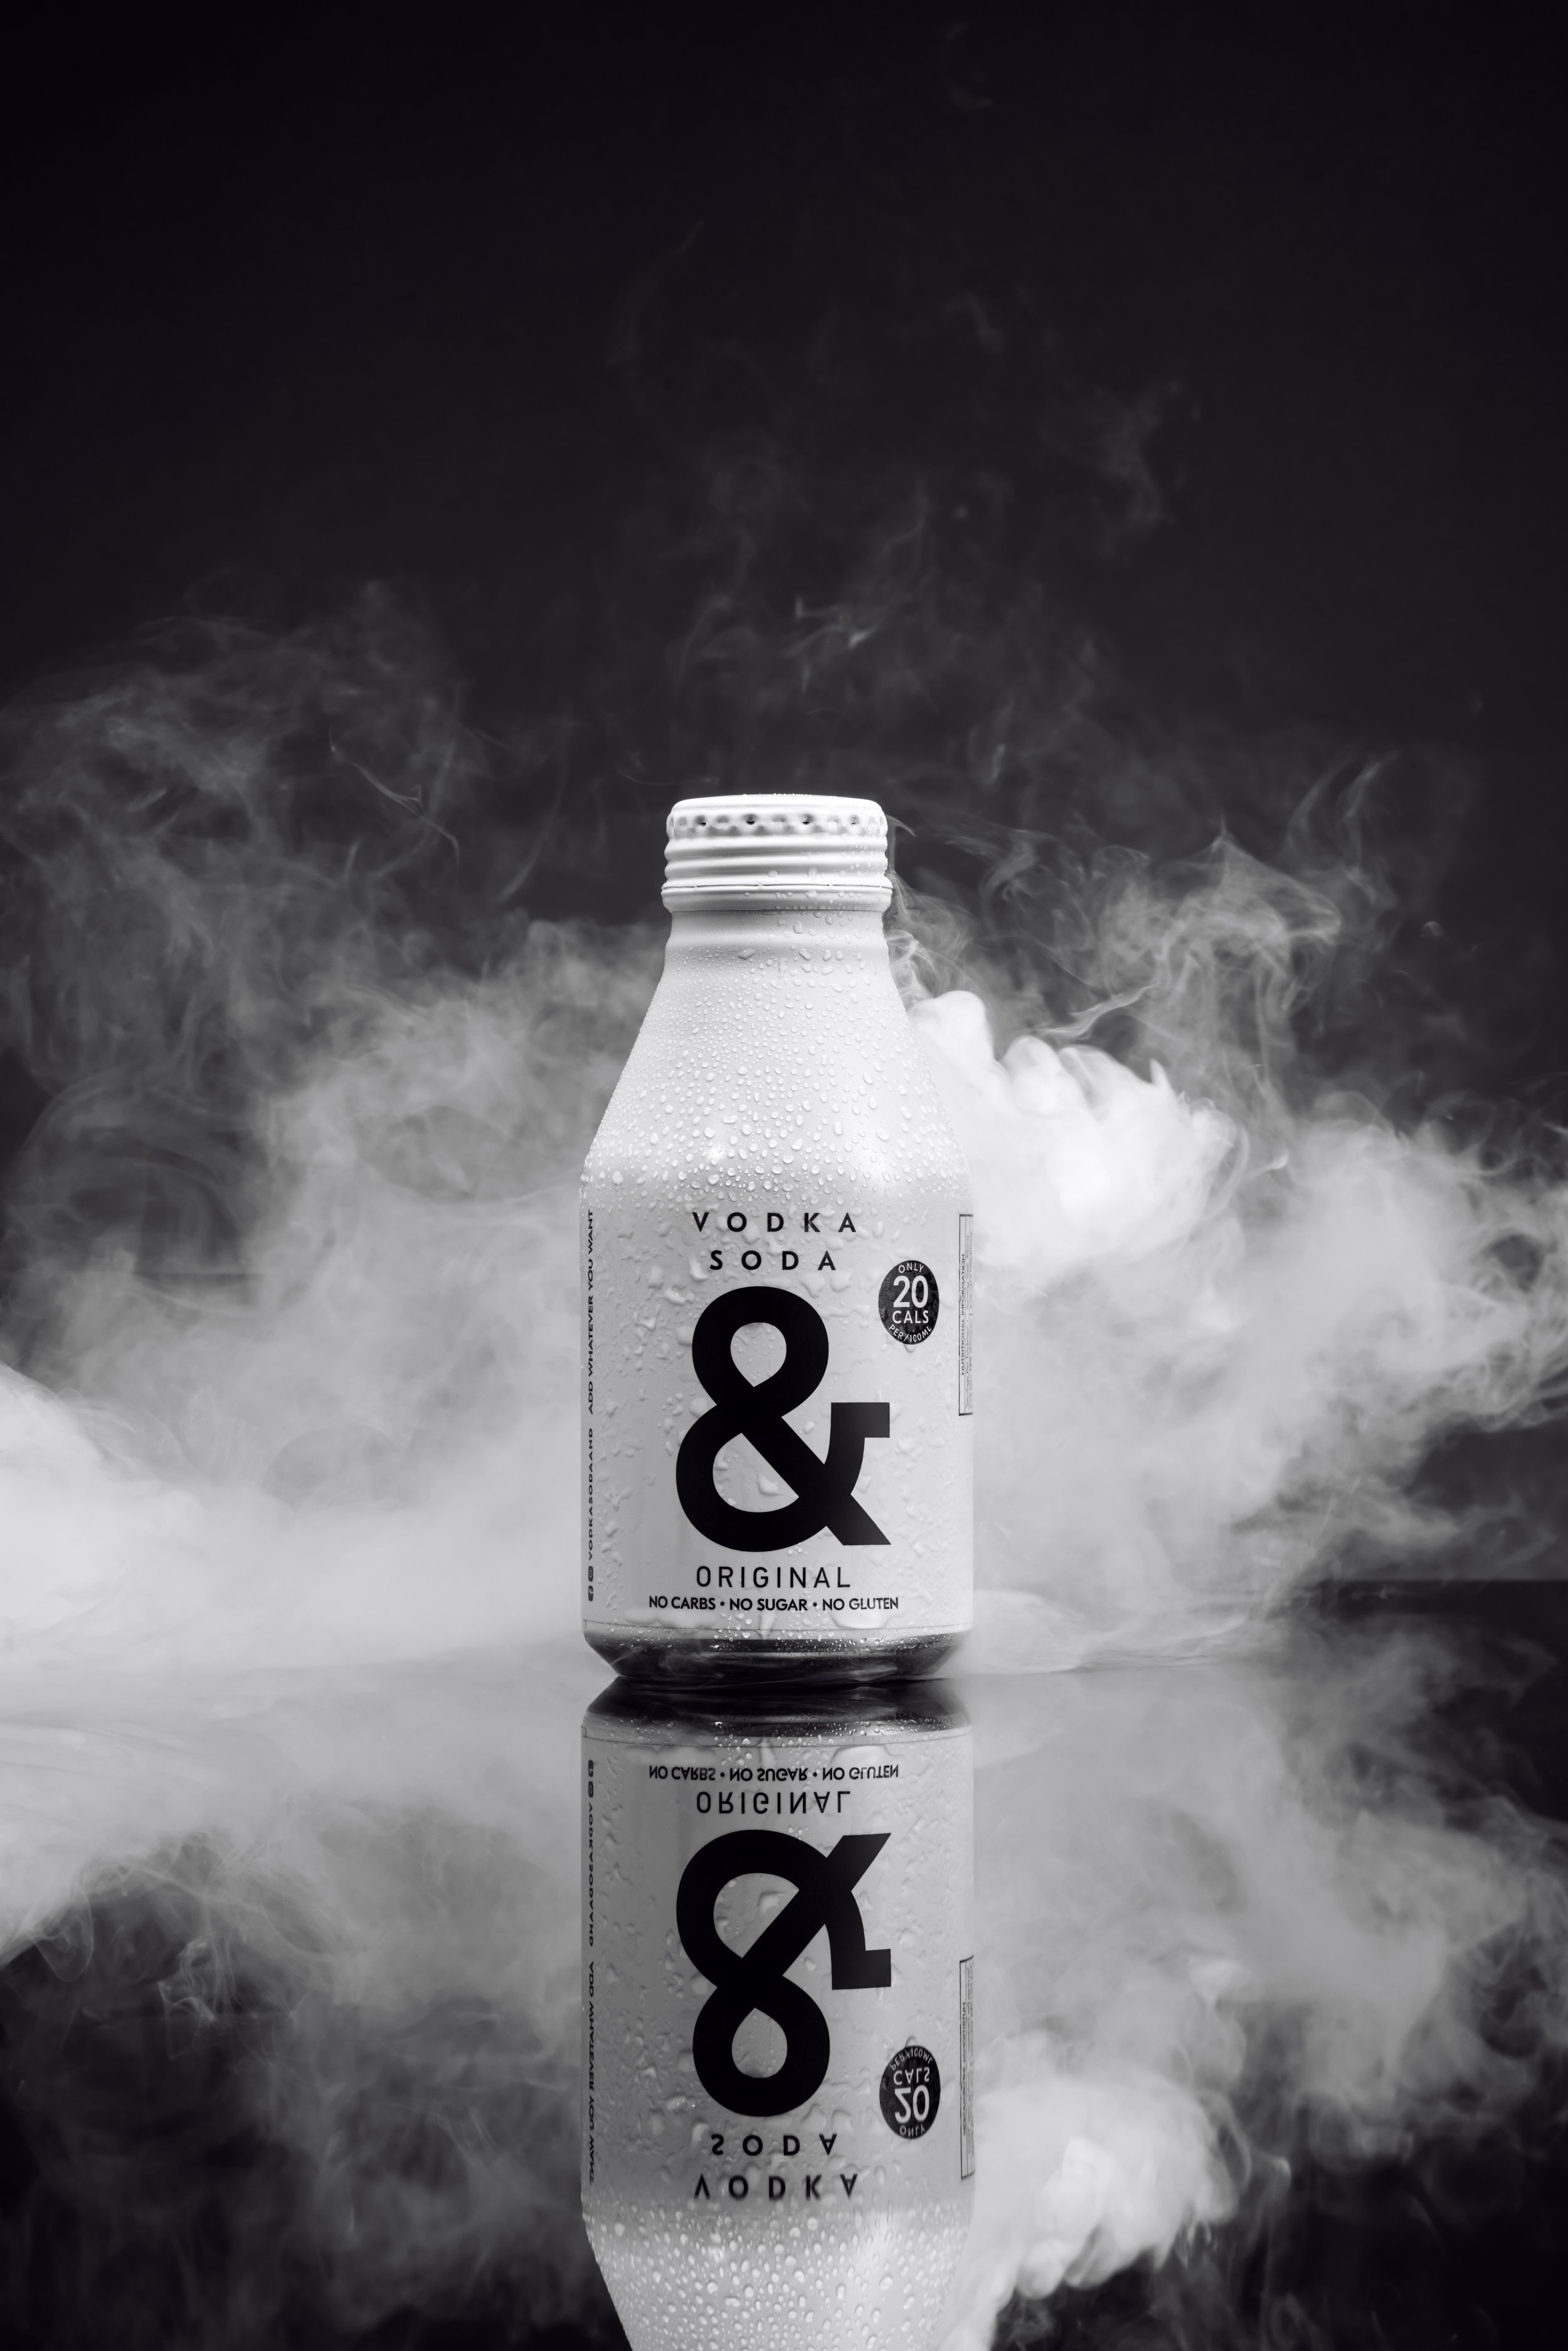
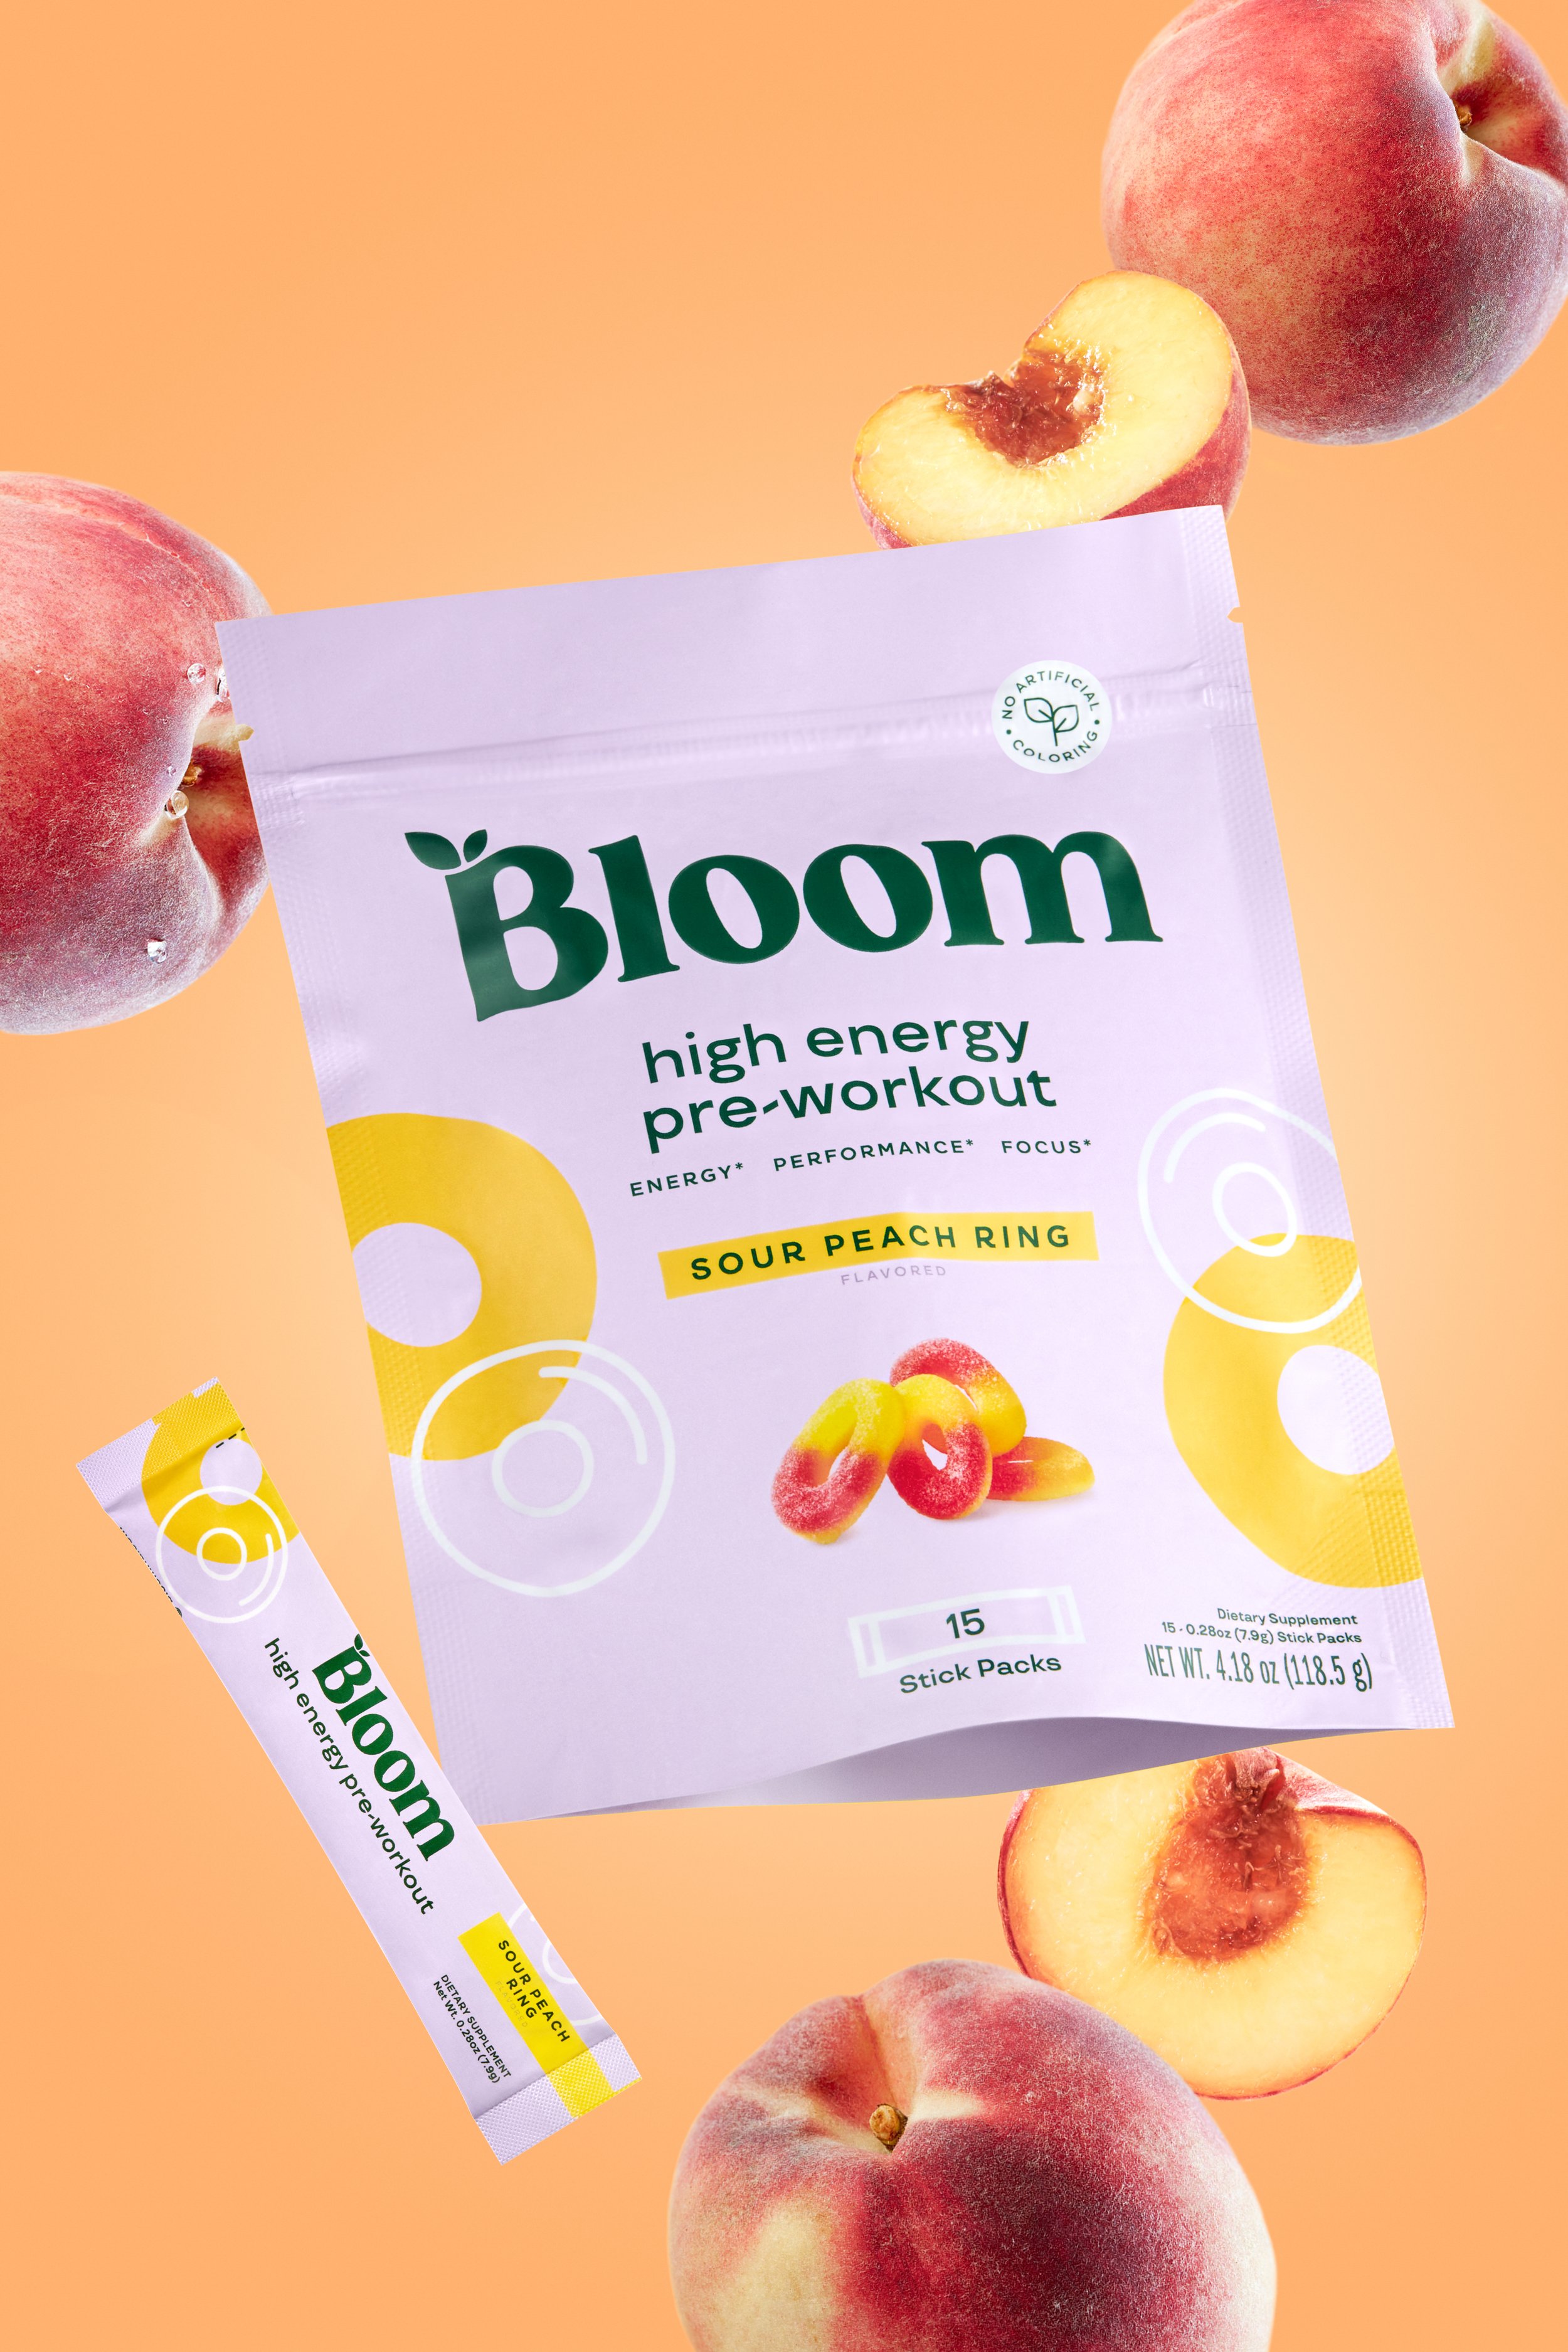
Welcome to our cozy corner of creativity, where today, we’re shining a light (quite literally) on a simple yet striking lighting technique that will elevate your product photography, especially if you're just beginning your journey into the world of photography lighting. Our goal? To achieve a bold and vivacious look while keeping our setup straightforward and accessible.
1. Crafting our Shelfie Shot
For this particular setup, I chose to create a captivating "shelfie" scene. If you're unfamiliar, think of a selfie, but instead of featuring your face, it showcases a stylish arrangement of objects on a shelf. Our stars? The adorable and ever-versatile blocks from @propsyland. These little charmers are not just props; they're the building blocks (pun intended) for our exploration into bold and fun lighting.
2. The Lighting Setup: Keeping It Simple
The Hero of Our Story: A Single Strobe Light
For this setup, I employed the Godox AD600 Pro, a powerhouse of a strobe light that’s both versatile and beginner-friendly. The trick? Positioning the strobe almost parallel to both my camera and the scene. This strategic placement ensures that the shadows cast are short and sharp, accentuating the textures and colors of our propsyland blocks without overwhelming the scene.
Why a Bare Bulb?
Using the strobe with a bare bulb (i.e., without any diffusers) intensifies the lighting effect, giving us that bold and vivid look we're aiming for. It's all about embracing and sculpting with light to create a scene that pops.
Balancing the Shadows: The Role of Foam Boards
To counterbalance the sharp shadows and add dimension to our setup, I introduced a couple of foam boards. Positioned strategically, they bounce light back into the darker areas, softening the shadows without diminishing the overall bold effect. This technique is simple yet effective, providing a beautiful balance between light and shadow.
ALTERNATIVES AND THINGS TO CONSIDER
Can I Use Continuous Lighting?
Absolutely! If you're working without a strobe or prefer continuous lighting, you can achieve a similar effect. However, it’s vital to be mindful of the ambient and any other artificial lighting in your environment. Continuous lights, while offering the advantage of "what you see is what you get," can also introduce complexity when balancing various light sources.
LET’S BE MORE THAN FRIENDS!
Keen to master the nuances of strobe lighting? Curious about the ideal camera settings to complement your lighting, or perhaps the secrets behind effective styling for product photography? Our upcoming course is designed to demystify these aspects and more, tailored specifically for creatives eager to expand their photographic skills.
This tutorial merely scratches the surface of what we'll cover, delving into the intricacies of product photography, from lighting and way beyond. To ensure you don’t miss out, I invite you to join our Course waitlist for an in-depth exploration into creating captivating product imagery.
Remember, photography is as much about science as it is about art. It’s about understanding the tools at your disposal and using them to bring your creative vision to life. With a bit of practice and a dash of curiosity, you'll find that achieving bold and bright product photos is not only possible but also incredibly fulfilling.
Stay tuned, and stay connected with us on instagram so we can see what you create!
See how we set up the lighting for this shot below:


